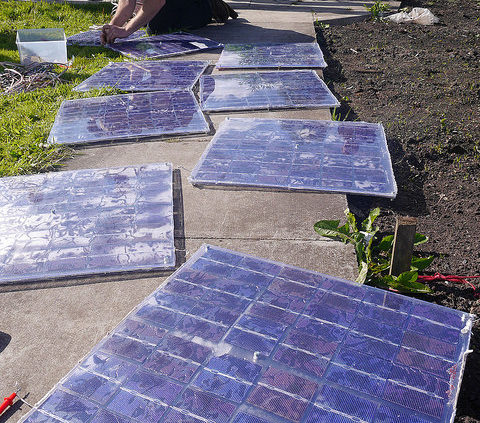
You’ve heard it on the news and you’ve read the latest reports. Solar power is projected to become cheaper than coal in about 10 years. Just consider the significant drops in the cost of going solar – since 2009, solar prices have dropped 62%! What was once a far-reaching solution to lowering your home energy bill has now become a reality in the life of many homeowners. In fact, DIY residential solar kits are appearing on the shelves of big box stores. As a homeowner, you’re ready to get in on the action! And with a DIY kit, how hard could it be to start saving money on your monthly electric bill? In this article, we’ll cover what you’ll do to install a home solar energy system and the pros and cons of the DIY method versus hiring the professionals.
Residential Solar Energy Systems: The Basics
The majority of residential solar energy systems are still connected to the grid. This allows you to still have power when the sun is not shining (cloudy/rainy days and at night) and you’ve run out of solar energy generated by your own system. Besides always having power available, when you’re still connected to the grid, you’re eligible for net metering. Net metering is when any unused energy generated by the solar panels installed in your house is fed back into the grid. The utility company then credits you back for the solar energy you are feeding into the grid. Essentially, if your credit is the same or more than what you use from the grid, your bill from the electric company can be $0. In addition to net metering, when you install a residential solar power system, you are also eligible for federal and local tax incentives and rebates that can result in major savings off the top.
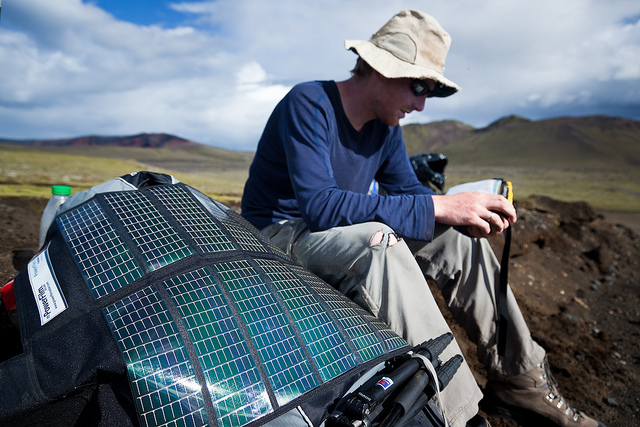
Equipment Needed for DIY Residential Solar System Installation
* Solar panels: these are responsible for collecting energy from the sun and transforming it into direct current (DC).
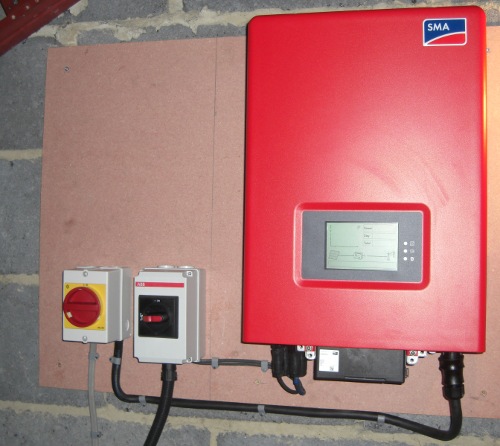
* Solar Inverter: very important piece of equipment that converts DC current into alternating current (AC) – which the current needed to run household appliances.
* PV Disconnect: This piece of equipment allows you to power off your system for maintenance and repairs.
* Electrical Panel: Your breaker box – how the solar energy you gather connects to your establishment.
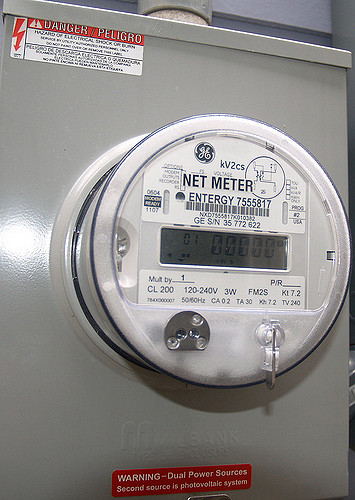
* Net Meter: Device that connects your home to the grid to monitor the amount of power in and out of your house.
You Know the Basics, But How Do You Know How Much and What Types to Buy?
There are multiple types of solar panels, some more efficient, some better for smaller spaces, some better for people with more land, crystalline, thin-film, cheaper, expensive. The options are vast. So, where do you start?
You start by monitoring your energy consumption. You need to have a good idea of how much energy you consume on the average day to determine how big of a solar energy system you’ll need. On top of that, you’ll also need to know how much money you have to spend – keeping in mind that the most expensive solar panels might not be the most cost effective for your needs.
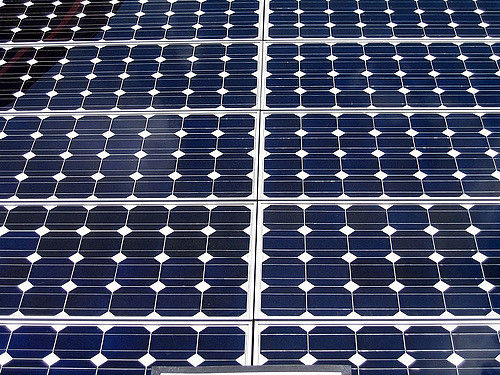
Crystalline solar panels (both monocrystalline and polycrystalline solar panels are more efficient than thin-film solar panels. But, they’re also more costly because they are more pure. Monocrystalline solar panels have been found to capture about 18-21% of the sun’s rays, where thin-film solar panels average around 15%. All panels have an average life span of 25+ years; crystalline silicon solar panels have lifespans up to 40 years. Intuitively, the more efficient the panels, the less you’ll need to buy.
Where Do You Install the System?
Depending on the size and type of residential solar system to decide to purchase, the location of installation can vary. In most cases, homeowners choose to install solar panels on the roof of their home. It’s a great space saver, if you don’t have a lot of land, and can receive great contact with the sun’s rays. But, what if you the majority of your roof is under shade from large trees? Maybe it’s better to mount your solar panels in the yard instead. This is also a good option when you need a larger amount of solar panels, that your roof might not be able to accommodate.
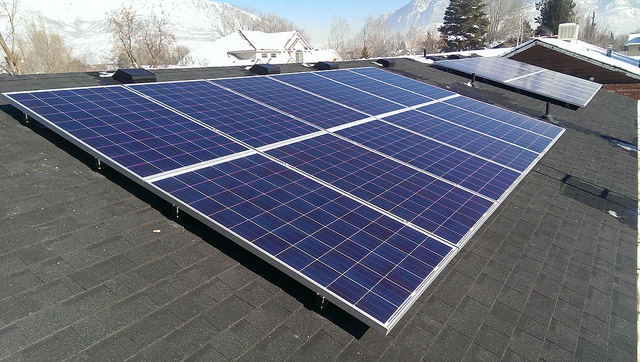
Keep in the mind the costs associated with mounting your solar energy systems. You’ll need racking equipment to attach the solar panels to your roof and you’ll need the correct mounting system for your yard as well. And also keep in mind you need to really research the best positioning of the system to maximize the amount of sunlight you capture, taking into account the location of the sun during peak sunlight hours in addition to the location of any shade inhibiting objects (e.g., trees, buildings). Even one panel that is blocked from the sun due to a shade tree can inhibit the efficiency of the entire solar energy system.
Solar Inverters
This is a substantial piece of equipment for the entire residential solar energy system. Why? This is how you get to use the solar energy you capture in the solar panels to power your home energy needs. As stated above, the solar inverter is what converts DC power to AC power – the type of power of your home appliances, computers, and other residential power runs off of.
Make sure you match up the capacity of your solar inverter with the size and type of your system (based on number of kW and grid or off-grid systems).
Net Metering and Batteries
If you’re connected to the grid, the net meter you need for your solar energy system is a big component to your energy savings. It monitors how much unused solar power you’re feeding into the grid and how much grid energy you are using to power your home. Regardless of the number, the installation of solar panels will drastically decrease the amount of energy you’re drawing from the grid overall; and hopefully, with careful planning, your utility bills will hover near $0 based on the credit you’ll receive back from contributing to the grid.
The last piece of equipment you’ll need to consider when considering a DIY solar energy kit is whether you intend to have battery backup or not. Your system does not have to have a battery, but, if you do, you can use the battery to store unused energy (instead of feeding it back into the grid). That way, you’re even less dependent on the grid for energy, for even when the sun is not shining or during blackouts, you can draw on your stored energy in the battery to continue to power your home.
The Final Hoops
Now that you know the pieces of the DIY solar power kit that you’ll need, don’t forget about the installation, permits, and regulations involved in residential solar energy systems. Even though you’re doing it yourself, you need backup from the professionals – electricians, roofers, engineers, and others to determine if the system you’re installing is functional, appropriate, and safe and whether your home is suitable for the installation of the solar system.
Once all is checked out, it’s time to install your system. Some estimates suggest you can save up to 40% from buying a kit and doing it yourself. Seems too good to be true? It just might be. . .
Pros and Cons of DIY Home Solar Energy Kits
Pros
Overall, the main reason people choose DIY solar panel installation is the potential cost savings. There are two ways to save costs – buy the solar power kit and install it yourself or buy the kit and get a professional to install it. The cost savings are pretty substantial when you think of it – you might be able to reduce your purchase price of the solar panels from $4 per watt to $2 per watt. For a common 5 kW solar energy system, that could mean a cost savings of $10,000 right off the bat. That’s a 50% discount and seems pretty good, right? Well. . .maybe.
Most homeowners are going to need to hire licensed solar installers to install even DIY kits. Not only are they the professionals, they know the ins and outs of these systems, and are specifically trained in their installation. Let’s face it, how comfortable are you with playing around with your home’s electricity? What’s the drawback of this? Most of cost you’re going to pay an installer is going to significantly decrease the actual amount of savings you will accrue from going the DIY route. Most licensed electricians will charge you $3,000 to $5,000 on average to install your home solar panels. But, wait – there’s more. Let’s assume after installation, you’re saving about $5,000 from buying a DIY kit. But, this is before applying the 30% federal tax credit, reducing your savings to about 10% overall (you’re going to save about $2100, on average, to purchase a DIY kit. Doesn’t seem like much considering all the steps involved in DIY systems.
Cons
It will take a lot of your time researching the components of residential solar energy systems, equipment needed, what the equipment does, calling roofers to see if your roof can handle the weight of solar panels, calling engineers to determine the best positioning of your solar panels, calling an electrician to install the system, calling the utility company to assess the safety of connecting your solar system to the grid, and the list goes on. With a cost savings of about 10% – and that’s just monetary savings. . .what about your valuable time – hiring professionals might be more logical.
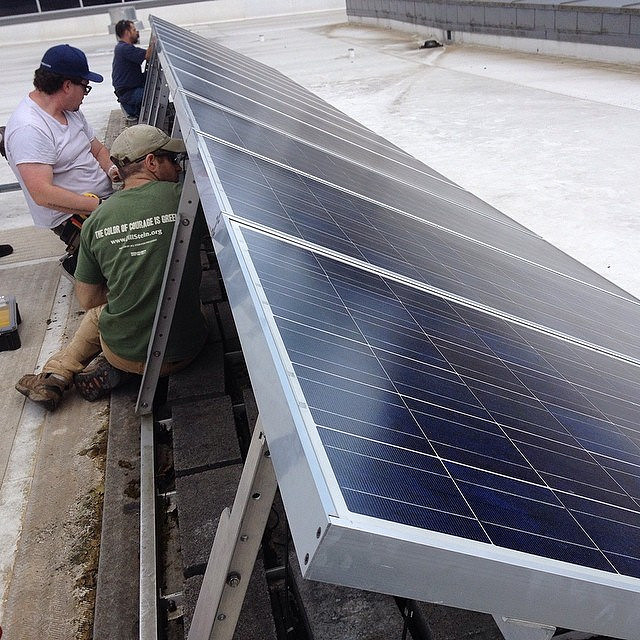
You’re installing everything and then you hit a snag. Or something doesn’t work. Or something goes wrong. Guess what? The fault’s on you. On the contrary, if you went with a licensed installer, if something goes wrong, the fault’s on them.
Let’s be realistic. We’re talking about electricity. Are you comfortable doing simple electrical work at your house? Most people are not. If you aren’t trained in this type of work, it can be extremely dangerous to work with.
Lastly, you might not be eligible for all the rebates and incentives a residential solar energy system provides if you are installing it yourself. Many of the rebates and incentives are only valid if your system has been installed by a professional. You can essentially lose out on thousands of dollars in savings by going the DIY route.
DIY: Yay or Nay?
Because residential solar energy systems are a big investment, you’ll want the system installed correctly and to full functionality. With this type of investment, it seems more effective to rely on the professionals who do these types of installations daily. Most residential solar systems can be installed in about two days. And solar consultants will monitor your energy usage and recommend the best system for your needs and the best placement to optimize solar energy conversion.
Overall, is saving $2,000 worth it to go through the headache of DIY installation? Perhaps you enjoy the challenge of a good home improvement project and have the time to devote to the scale of this project. Then DIY residential solar energy installation might be for you. For the most of us though, it’s easier and it’ll give you better peace of mind if you turn to the professionals.

